What Causes Paint Bubbling Indoors? 7 Reasons

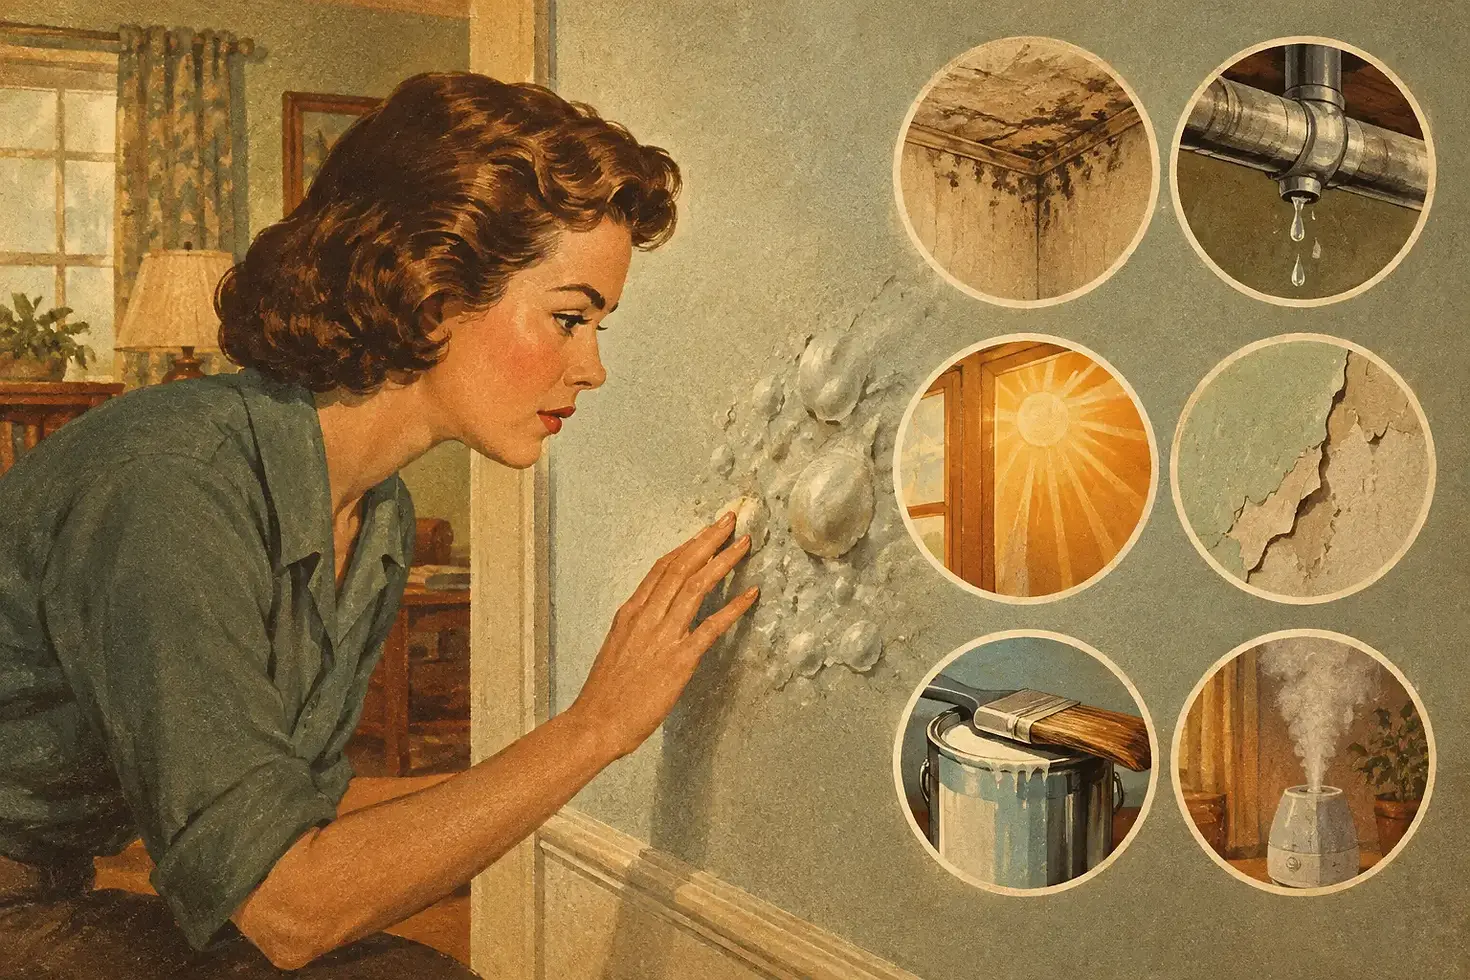
A smooth wall can suddenly develop small raised blisters, soft bubbles, or areas where the paint looks like it has lifted away from the surface. Homeowners often ask, what causes paint bubbling indoors when the room was painted recently or the problem appears out of nowhere. The short answer is that paint has lost its bond with the surface below it, but the reason behind that failure matters. Some bubbling is a painting-preparation issue. Other bubbling is an early warning of moisture inside a wall, ceiling, or room.
What Causes Paint Bubbling Indoors?
Paint bubbles form when air, water vapor, liquid moisture, or contaminants interfere with the paint's ability to adhere. The bubble may stay small for a while, flatten as the room dries, or eventually break open and peel. Looking at where the damage appears, how it feels, and whether it returns after repair helps narrow down the cause.
In Charlotte-area homes, indoor humidity, summer air conditioning, plumbing leaks, and moisture in bathrooms can all play a part. Still, not every paint blister is a leak. Careful inspection is the first step before anyone starts scraping and repainting.
1. Moisture Behind the Drywall or Ceiling
Moisture is the most serious and most common cause to rule out. A slow pipe leak, roof leak, condensation around ductwork, overflowing fixture, or water entering through an exterior wall can soak drywall paper and weaken the paint bond. As moisture tries to evaporate, it pushes against the paint film and creates bubbles or peeling areas.
Ceiling bubbles below a bathroom, laundry room, or upstairs plumbing deserve prompt attention. So do bubbles that feel soft, look yellow or brown, or keep expanding. Paint repair alone will not hold if the source of water remains active. The affected drywall may also need repair or replacement if it has become swollen, weak, or mold-damaged.
2. High Humidity and Poor Ventilation
Not all moisture comes from a visible leak. Bathrooms without an effective exhaust fan, kitchens with limited ventilation, and laundry rooms can hold enough moisture in the air to affect paint over time. Hot showers are a frequent culprit. Steam settles on cool walls and ceilings, then works its way into small gaps or poorly bonded paint.
This type of bubbling often develops near showers, tubs, windows, or upper wall and ceiling areas. It may be accompanied by mildew spotting. A quality bathroom paint helps, but it cannot compensate for a fan that is undersized, rarely used, or venting improperly. Running the exhaust fan during bathing and for a period afterward reduces moisture load in the room.
3. Painting Over a Damp Surface
Fresh drywall compound, repaired plaster, recently cleaned walls, or water-affected surfaces need time to dry before priming and painting. If paint goes on while the surface still holds moisture, that moisture can become trapped beneath the coating. The result may not show immediately. It can appear days or weeks later as blistering, cracking, or peeling.
Drying time depends on more than the clock. Room temperature, relative humidity, air circulation, the thickness of joint compound, and the extent of a repair all matter. A wall can feel dry to the touch while deeper material remains damp. Experienced painters check the condition of the surface rather than relying only on a promised dry-time label.
4. Inadequate Surface Cleaning
Interior walls collect more residue than most homeowners realize. Cooking oils, hairspray, hand oils around switches, smoke residue, furniture polish, and household cleaning products can all leave a film that interferes with adhesion. This is especially common in kitchens, bathrooms, hallways, and homes where candles or fireplaces are used regularly.
When new paint is applied over residue, it may initially look fine. As it cures, weakly bonded areas can lift into bubbles or peel when bumped or cleaned. Proper preparation includes cleaning the surface with the right method, allowing it to dry fully, and using primer where needed. Painting over a glossy or contaminated surface without prep is a shortcut that tends to show later.
5. Painting Over Glossy or Unstable Old Paint
New paint needs a sound, properly prepared surface to hold onto. Glossy trim paint, old oil-based coatings, flaking layers, and previously patched areas can all create adhesion problems. If the existing paint is already separating from drywall, applying another coat simply adds weight to a failing layer.
A painter may need to sand glossy surfaces, remove loose paint, feather the edges, spot-prime repairs, or use a bonding primer. The correct approach depends on the material and coating already on the wall. Skipping these steps may save time on paint day, but it can lead to bubbling or peeling long before the room should need attention again.
6. Applying Paint Too Heavily or Too Quickly
Heavy coats can skin over before the paint underneath has cured. As the lower layer releases moisture or solvents, pressure can create blisters. This is more likely when paint is applied too thickly, when multiple coats are rushed, or when a room is very humid or poorly ventilated.
Product compatibility can also matter. Applying a water-based coating over certain older oil-based finishes without the appropriate prep or primer can lead to poor adhesion. The same is true when different coatings are mixed without checking whether they are designed to work together.
Good paint application is not just about choosing a premium product. It means applying the right amount, allowing proper dry time between coats, and keeping the room within the manufacturer’s recommended temperature and humidity range.
7. Heat, Sunlight, or Air Movement Near the Surface
Although indoor paint is protected from direct weather, it can still be affected by heat and fast drying. A wall near a sunny window, a fireplace, a radiator, or a supply vent may dry unevenly. Strong heat can cause the top layer of paint to cure too fast, trapping moisture beneath it.
This issue is less common than a leak or poor preparation, but the location provides a clue. If bubbling occurs only along a hot exterior wall or around a vent, consider the room conditions along with the painting process. Controlling temperature and airflow while paint dries can prevent repeat problems.
How to Tell Whether Paint Bubbling Is a Moisture Problem
A few small bubbles on a newly painted wall do not automatically mean major water damage. But certain signs call for a closer inspection before repainting:
Bubbles are soft, damp, discolored, or growing larger.
The damage is on a ceiling or near plumbing fixtures, windows, or exterior walls.
Paint is peeling in broad sheets rather than in isolated spots.
There is a musty odor, visible mold, staining, or drywall that feels weak.
The same area bubbles again after it has been repaired and painted.
If any of these conditions are present, identify and correct the moisture source first. A plumber, roofer, HVAC professional, or water-damage specialist may be needed depending on where the moisture is coming from. Once the area is dry and stable, the wall or ceiling can be repaired and refinished correctly.
Can You Repair Bubbling Paint Yourself?
For a small, dry area with no evidence of an active leak, a homeowner may be able to handle the repair. Start by gently removing all loose paint. Do not stop at the visible edge if surrounding paint is no longer bonded. Let the exposed area dry completely, sand the transition smooth, patch any damaged drywall surface, prime the repair, and repaint.
The trade-off is that small repairs can be difficult to blend, particularly on walls with sheen, dark colors, or older faded paint. If the bubbles are widespread, the drywall paper is torn, the ceiling is involved, or you are unsure whether water is still present, professional evaluation is usually the better value. Repainting too soon can cover the evidence without fixing the cause.
Preventing Paint Bubbles After a Repair
Lasting results begin before the paint can is opened. The surface needs to be clean, dry, solid, and properly primed. Loose material should be removed, drywall repairs should be fully cured, and rooms with regular humidity should have working ventilation.
For bathrooms and kitchens, choose finishes suited to regular cleaning and moisture exposure. For older homes or repaired walls, use the right primer for the surface instead of treating primer as optional. These details are less visible than the final color, but they determine whether the finish stays smooth.
AG Drywall & Painting Inc. approaches interior repairs with the same focus on surface preparation and finish quality. If bubbling paint is tied to damaged drywall, recurring moisture stains, or a failed previous coating, an accurate assessment can help prevent another round of patching and repainting.
A paint bubble is easy to ignore when it is small, but it is still a message from the wall. Find out what separated the paint from the surface, correct that condition, and the next finish has a much better chance of looking right for years.


Comments